
Replacing front skirt:
The front skirt is made up of two parts available in two kits. written by www.WCPandS.com. For the
standard white pool cleaner, the “Brackets for skirt” part number is 896584000-419
for the top half and “Skirts with rollers” part number is 896584000-259 for the
bottom.

Start by connecting each of the two halves together before attaching to
the pool cleaner. This will be done four times.

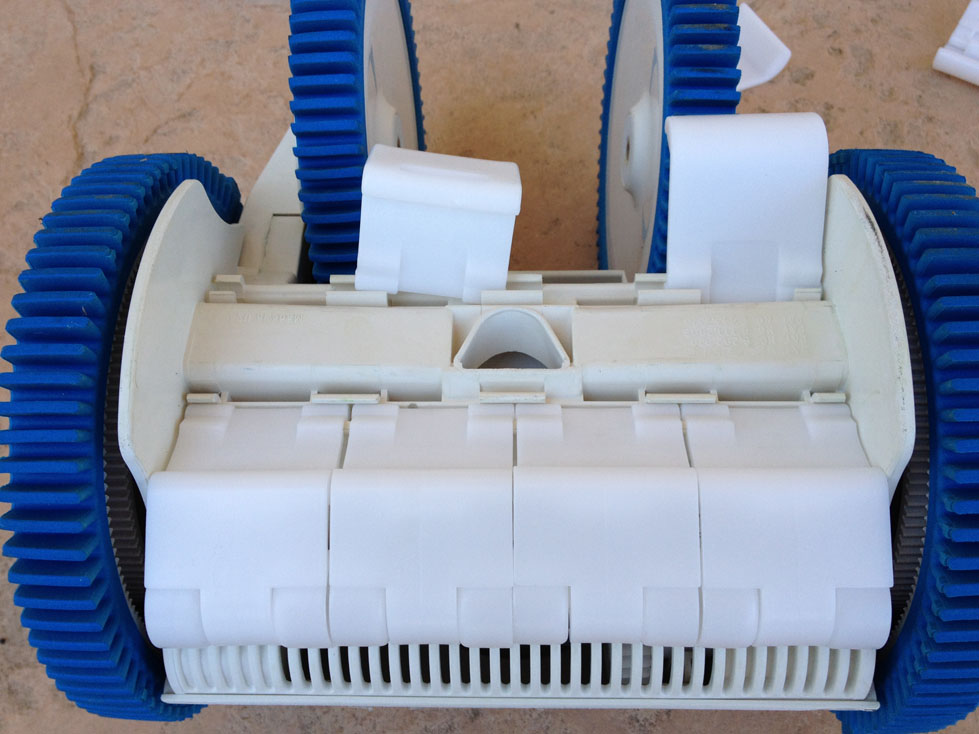
The bottom section of the top half (see picture below) will be pushed into the top
section of the bottom half
This is a tight fit and requires a strong hand to snap the two
together.


Each combined piece will now be inserted one at a time as shown.
For the first two, one side is pushed under an open slot and slid in
place.


For the third, it will need to be inserted on the opposite side of the
two already placed in.


One side of the fourth and final piece will be inserted as the other 3
were, but now the opposite side will need to be forcibly snapped in.


Replacing the back skirt:
The back skirt is made up of two parts. For the white pool cleaner
“Skirt Kit B” the part number is 896584000-105 and for “Brackets for Skirt” thepart number is 896584000-419. Note that two of the “Brackets for skirt” are
extra and will not be used.


The two largest pieces will be at both ends of the skirt line.
Only 2 of the 4 “Brackets for skirt” will be used.

Start by attaching one skirt bracket with one bottom skirt.

These are snapped together by hand. Do this twice for the two middle
skirt pieces.


Now you have the 4 sections that together make up the entire back
skirt.

Slide one section of the single long pieces into the back skirt line.


Now slide the other side down and in all the way to one side.

Take one of the middle two part pieces and insert one side. Then, slide
that piece all the way over to the already inserted piece.


With the other single long piece, insert one side (like in picture) and
then slide over and in.


For final middle section piece, insert just one side by sliding it in.

The remaining side needs to be pushed down and snapped in by hand.

Once inserted, each piece should move back and forth freely.
See the pictures to make sure that your skirt parts have the same angle
as the parts in the pictures.


With the two extra parts.

Hello, this weekend is good for me, since this time i am reading this enormous informative article here at my home. best-swimming-pool-vacuum-hoses
ReplyDeleteHere more swimming pool vacuum https://www.swimmingvac.com
ReplyDelete