Replacing a Pool Actuator
Intro
A swimming pool actuator is an automated valve that is either connected
to a swimming pool automation system or a solar heater system. written by www.WCPandS.com. These
occasionally stop working and need to be replaced. There are versions of
actuators from all of the major swimming pool parts manufactures including
Jandy, Pentair, Hayward, and Intermatic and all of these are universally
compatible with each other.

See the video below to watch a typical working actuator. Note its speed and smoothness.
The main reason for buying from the same manufacture is for cosmetic reasons as the top covers of the actuators are all different.
The main reason for buying from the same manufacture is for cosmetic reasons as the top covers of the actuators are all different.
When an actuator stop moving automatically (when told to move by the
automation system) or manually (from the switch on the unit) it will need to be
replaced. This guide will cover removing and replacing an actuator.
In this example, we will be working with a Pentair Intelli Touch and a
Pentair Compool actuator. Your setup may vary.
Note: Click on any image to see a larger version.
Note: Click on any image to see a larger version.


Getting a replacement actuator
When getting a replacement actuator, you must first decide if you want
the same exact model or if you want one of the less costly models. Again, they
are all cross compatible and the only major difference between them is the design
of the actuator cover. These can be
purchased or ordered from most local swimming pool stores or a swimming pool online stores.
If you want the same model, write down all of the information on the
old actuator or take a picture and show it to a swimming pool store sales
associate.
Removing the old actuator
Locate the broken actuator; it is held in place by four screws and one
plastic screw on the top of the handle. It is not uncommon for the top plastic
screw to be missing. If this is the case, do not worry as this will not
adversely affect the valve in any way.
Remove the top plastic screw. The plastic handle it was over can now be
pulled straight up and off.


Remove the 4 visible screws that hold in the actuator with a Phillips
head screw driver.
The actuator can now be pulled straight up and off.

Follow the cable from the back of the actuator to the controller it is
plugged into. If the cable is tie wrapped anywhere, carefully cut these to free
the wires.

If this actuator is connected to an automated control system, it will
be plugged in to the circuit board. This will require you to remove the cover
panel(s) of the controller to get to this connection.


Note: If this is for a solar controller, it could be connected by
being directly plugged into a controller board or in some cases the cable end may
have been spliced. If your cable has been spliced, take a picture of the
connections before removing them so you will know how to reconnect the wires of
the new unit.
Most systems will have the plug-in slot marked on the board
“Actuator.”

Installing the new actuator
The new actuator will be installed by reversing the steps of the
removal. Start by connecting the new cable end into the controller box and up
to the controller board.

Plug the cable end into the board.
Leave the cover of the panel open. At the end of the installation, the
extra cable will be pushed into this panel.


Before placing the new actuator onto the valve, the valve will need to
be turned to fit the new actuator position. To find this, place the plastic
handle on the new actuator. Now, take note of the valve handle position.


Place the handle on the valve and turn the valve to the same direction
the actuator is already set in.

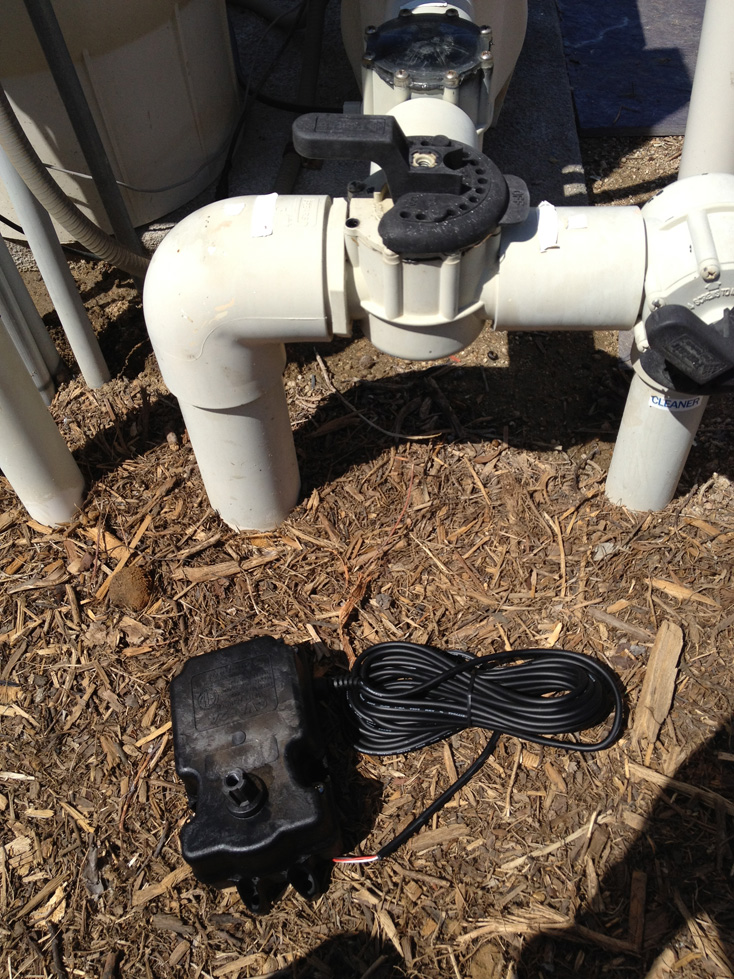
Remove the plastic handle and place the new actuator over the valve.

Screw in the 4 bolts to secure the actuator in place.


Place the handle over the new actuator and screw in the plastic screw
to the top.


You can now tie wrap the loose cable up off the ground and pull the
extra cable into the control panel (if there is a space for it).

Setting the actuator position
The actuator position will now need to be checked and changed if
needed. Automated pool systems assume the automated valves are set in “Pool
Mode” by default. To change the actuator position manually, there is a switch
either on the back or under actuator. Just move the switch to the opposite of
what it currently is to move the actuator. See the picture below from behind this actuator.

If you need to manually shut off an actuator, set this
toggle switch to its middle position. You will want to do this when a valve
needs to stay in one position, for example, to keep a malfunctioning valve from
moving.
Since there is no standard system setup, valve positions
vary from pool to pool. If you need afew examples of valve position, see our write up here.