This is a write up covering how we changed the light bulb on a Jandy
pool light (Jandy part number WPHV500WS100, also known as Jandy Pro Series
Large White Light) and a Jandy White small light. These are similar and the
steps below will sometimes show both in the same steps for clarity.

Three of the largest swimming pool light manufacturers are Pentair,
Hayward and Jandy. The process of changing a light bulb in a swimming pool/spa
varies between these different manufacturers. We have a previous write-up on
the Pentair Amerlites that can be found here
Most lights can be identified visually through the water without
opening the light fixture. Jandy lights have a smooth rim with oval-shaped
holes around the middle of the rim.
Starting:
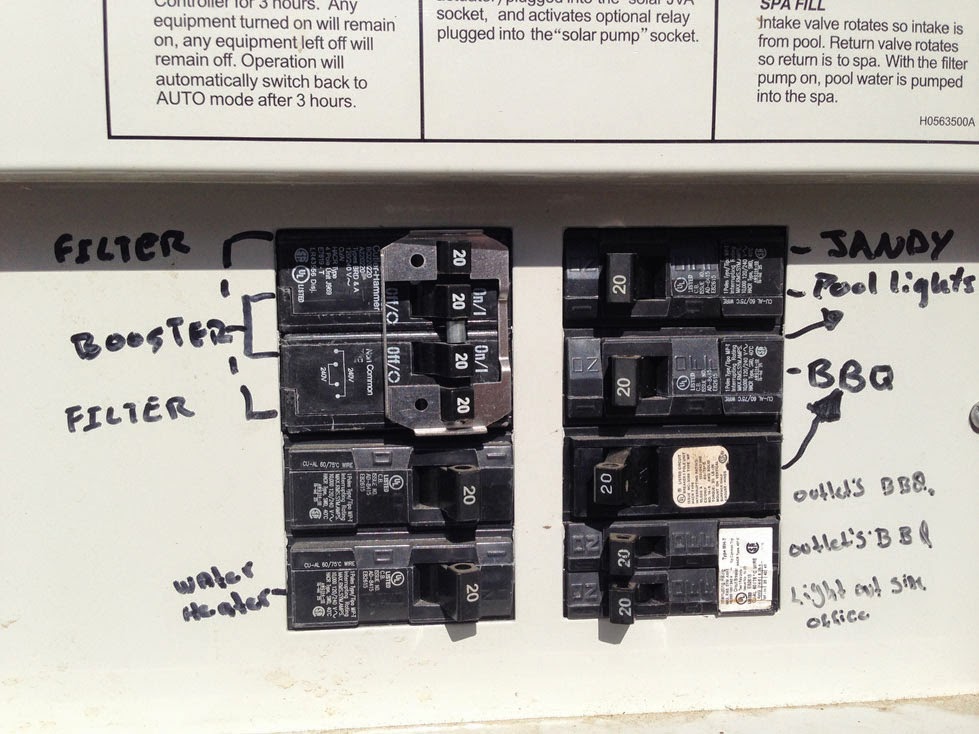
The breaker to the pool and spa lights needs to be turned off before
doing anything with the lights.
To get access to the bulb, the light fixture needs to first be removed;
this is held in with a single Phillips-head screw located at the top of the rim
of the light.
Most fixtures can be removed by reaching into the water and removing
this screw with just a screwdriver. In certain cases someone will need to get
in the water to remove this screw.
If a spa is connected to a swimming pool (and higher than the pool),
the spa can be drained into the pool using the filter pump to gain access to
the spa light fixture.


Once the single top screw is removed, the light can be pulled out to
either the pool deck or spa seat (if it’s the spa light).
Notice the sticker marking the top of the light fixture with the
securing screw hole directly above it.

This will be important later when reassembling the fixture.
The Jandy lights use a plastic clamp assembly held down with 6 screws.
These were removed with a Phillips-head screwdriver.


Once removed, the front steel face ring can be pulled off from the
light fixture.


Clamp assembly removed from the fixture.


The lens can now be pulled away and off of the fixture. A flathead screwdriver
was used in this specific case to wedge the lenses out of position.


(Pool)


(Spa)
The light bulb is now accessible and can be removed.
A standard 500W 120V swimming pool floodlight was used for the pool
light.


A 39W 120V medium base halogen
light (part number PAR20) was used for the spa light.

Note: Once the new bulb is in, now is the time to test the new light
bulb; however, only leave it on long enough to check if it comes on correctly
or not. These lights are water-cooled and are not meant to be used out of the
water for an extended period of time.
The lens gasket needs to be replaced whenever the light fixture is
opened.
Pool light gasket part number: R0451101

Spa light gasket part number: R0400501

Note the two sides of the gasket. One side has a raised bump and the
other is straight flat edge. The new gasket will need to be installed exactly
like this one is shown here.

The old gasket can be pulled off of the lens.
Always replace the gasket.

The gasket has two sides: One has a straight edge.

The other side has a bump.

The new gasket is pulled over the edge of the lens. There is a raised bump
on one side of the gasket; this should face back towards the light.


The lens and light fixture need to be pressed together. The top center
screw hole on the outer steel face ring needs to line up with the top position
of the fixture marked by the sticker around the outside.


Now the plastic clamp assembly needs to be lined up with the back of
the fixture with the clamp opening at the top and held in position with the 6 original
screws.


(Spa)


(Pool)
The fully assembled light fixture needs to be placed back into the
pool/spa wall.
The extra cord can be wrapped around the light fixture and pushed into
place with the top (noted by the screw hole on the face ring and sticker around
the fixture base) up towards the sky as shown below.

A single screw is used to hold the fixture in place.


Note: Whether you are leaning over into the pool or completely in it,
getting this screw into the correct position and started can be difficult.
Patience is a virtue.

I hope to design a pool that is the essence of classy yet innovative. I love to swim, and if I had a pool at home I would be in such good shape, I'd be out there everyday. I'd want it to have lights inside of it as well, but lights that could really light the place up.
ReplyDeleteFeruccio
http://www.ozwestonlinepoolshop.com.au/
I love to have this kind of information.
ReplyDeletehvac repair bowie md