Fixing a leaking
valve
This is a guide on fixing a leaking two or three port valve written by www.WCPandS.com.
A three port Intermatic valve and
Super Pro o-ring kit was used in this example.
The steps shown here are the same as the commonly found Jandy valve or the Compool valve.

These valves leak when the o-rings fail or there is a crack
in the cover. See the video below for an example of a leaking valve.
Getting started
Turn off the pumps and make sure the system cannot turned on
automatically. The easiest way to do this is by turning off the power breakers.
Opening the valve and
removing the assembly
Note: If your valve has an actuator on it (a motor that
moves the valve automatically), the handle needs to be removed. Then, the
actuator will need to be removed. All of the steps after that are the same for
replacing the faulty o-rings.
The handle needs to be removed. Unscrew the knob at the top
of the handle.

Some times this knob breaks off. If yours breaks and the
screw is stuck inside, then a new diverter assembly with a knob kit will be
needed to replace everything.
Now the handle can now be pulled off.

Note the position of the cover. It will need to be returned
to this exact position.
Using a Phillips head screwdriver, unscrew and remove all
screws.


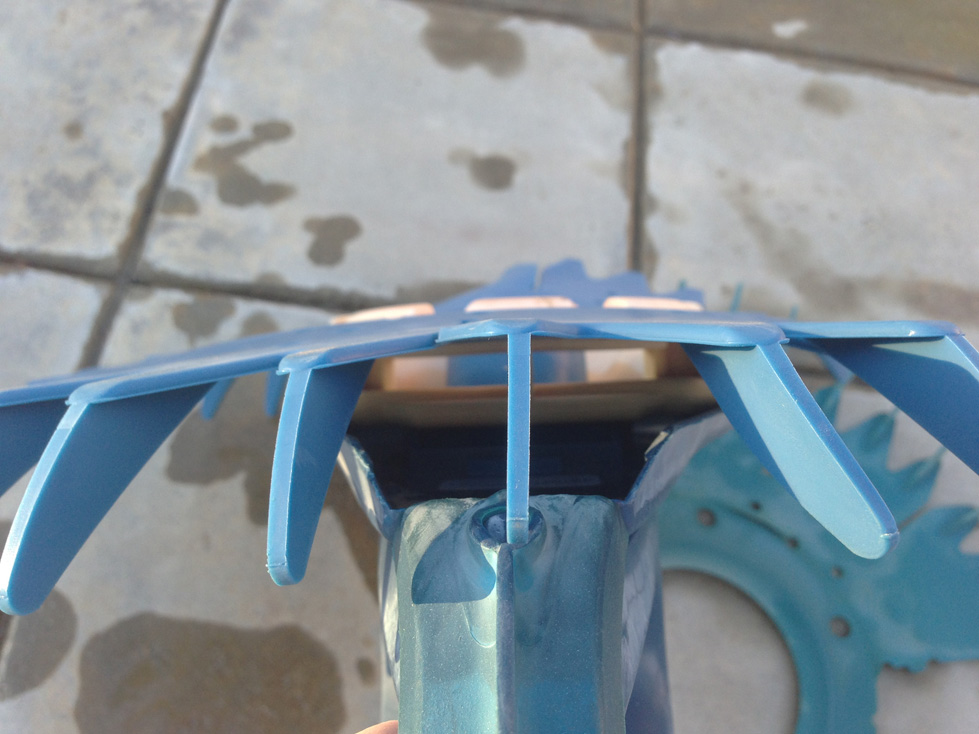
The cover now needs to be removed. A thin end flat head
screw driver can be used to help remove the cover. Start by loosening each side
in small amounts until you can pull the cover off with your hand.


Replacing the o-rings
Pull the cover off of the diverter assembly, separating the
two.

Note: If your cover is cracked (usually where the screws
press down), the cover may need to be replaced. If you need a replacement, the
maker of the valve is written on the handle. In the case that yours is missing
a handle or has one but with no writing on it, simply take a picture of your
cover and show it to your local pool store.
The smaller o-rings can either be stuck in the cover

Or on the diverter assembly.

Either way, remove these and there should be three pieces.
Two are o-rings and one is a plastic ring.

A Super Pro 31-509-1008 o-ring kit was used in this example.
It has two small o-rings for the diverter assembly and one large o-rings for the
cover.


Using the new two small o-rings and the plastic ring from
the original set (see enlarged pic below)

Place them on to the diverter assembly in the order of
o-ring, plastic ring, and o-ring.


Remove the old o-ring from the cover. It could still be in
the valve body if you cannot find it on the cover. Place the new o-ring over
the cover.


Reassembling the
valve
Push the top of the assembly through the bottom of the
cover.

It needs to be pushed completely on, as shown in the
picture.

The entire assembly and cover need to be pushed back into
the valve body.

Note the direction of the cover here. It needs to be
returned to its original position and all of the screw holes must line up. The
cover can be turned to return it to the correct position.

Once it is set, push the cover all the way in so that it sits flush with
the valve body.


The screws need to be put in and tightened by inserting one,
then inserting the screw on the opposite side next. This ensures that the cover
sits as flat as possible.
Note: Do not over tighten these since it could crack the
cover. They should only be snug.


Reattach the handle and then screw back on the knob.